10/02/2026
Every year, drivers install a fresh set of performance brake pads, skip the bed-in procedure, head to a track day or autocross, and then spend the next hour wondering why the pads feel slippery, inconsistent, or faded. The pads aren't defective. The installation isn't wrong. The transfer film just doesn't exist yet, and without it, the brake system is working against itself.
What Bedding In Actually Does
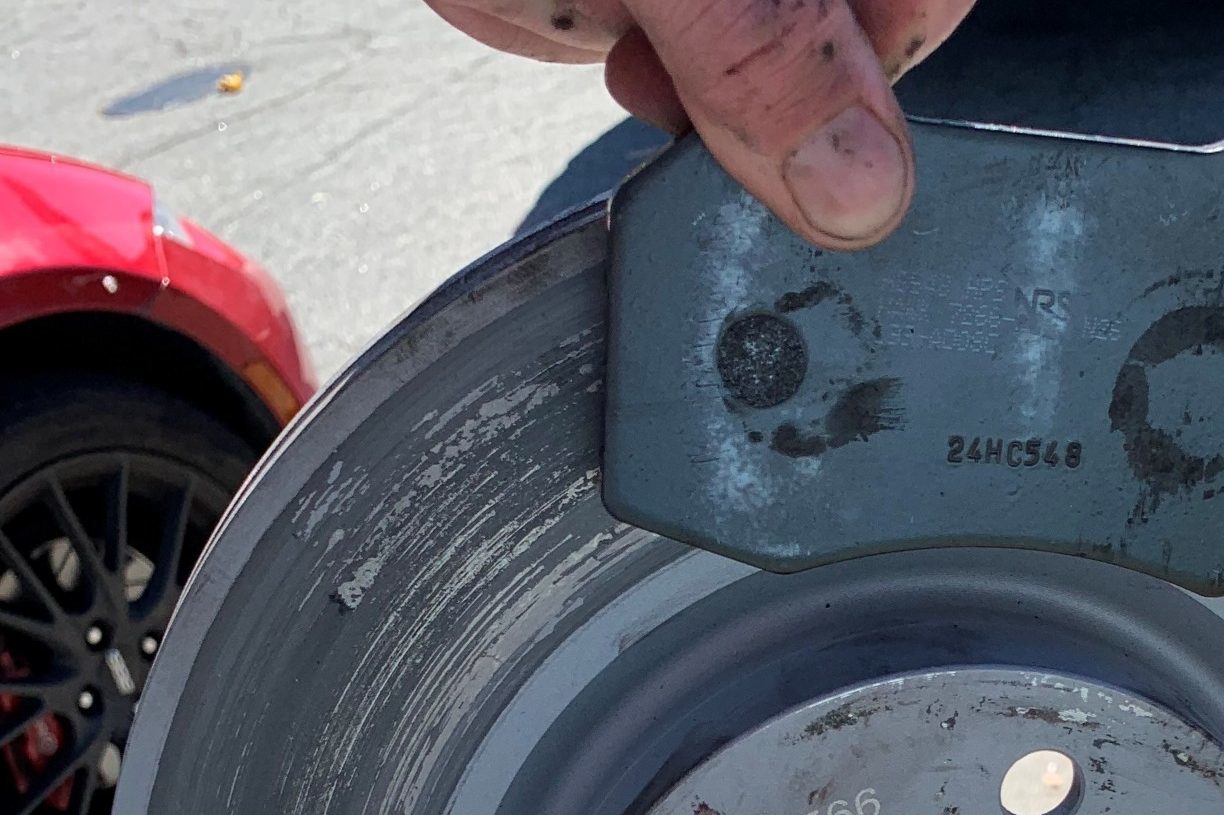
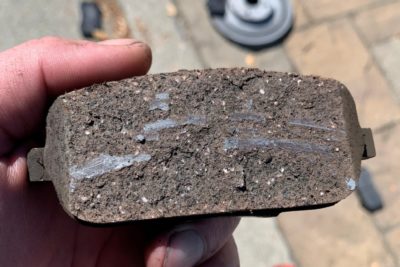
When a new brake pad contacts a rotor, friction between the two surfaces generates heat. That heat is necessary — not because hot brakes are better brakes, but because the bed-in procedure establishes controlled heat cycles to deposit a thin, even layer of friction material from the pad onto the rotor face. This layer is called transfer film. Once it's there, the pad is effectively generating friction against its own deposited material rather than against a bare metal rotor, which is what increases stopping performance and reduces both pad and rotor wear. Skip bed-in, and the first time you generate serious heat — like the end of a long straight on a road course — you risk bringing the pad surface up to temperature too fast, causing the rubbing surface to react too extremely and create a surface glaze. A glazed pad has a cloudy, glassy look to it and dramatically reduced stopping ability. The only fix? Sanding away the glazed layer and repeat bed-in from scratch.
The Street Bed-In Procedure
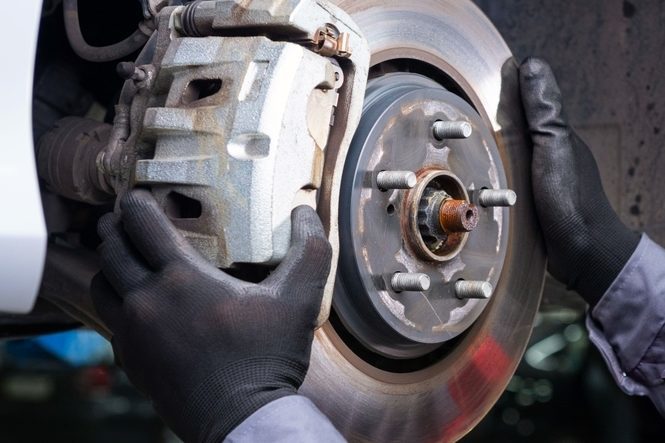
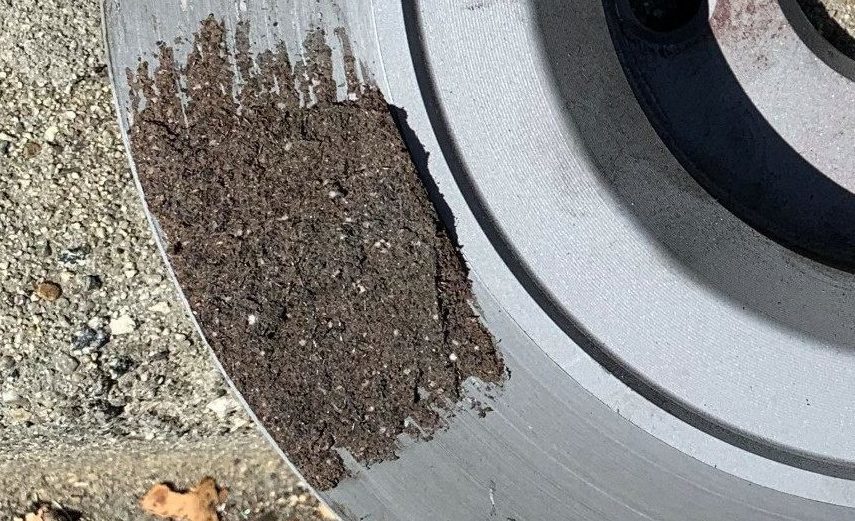
For street pads that have a relatively low operating temperature (like HPS, HPS 5.0, Performance Ceramic, LTS, and Super Duty), the goal is a gradual series of brake applications that introduce heat progressively without allowing extended drag. To break in the new components, find a quiet stretch of road and make 6 to 10 stops from 30-35 mph by applying moderate brake pressure. Make an additional 2 to 3 hard stops from 40-45 MPH, then allow 15 minutes for a full cooling down period. Never drag the brakes or hold the brake pedal down while stationary — that can print an uneven deposit ring on the rotor exactly where the pad was resting.
The Track Bed-In Procedure
Race compounds like the DTC Series, Blue 9012, HT-10, and ER-1 require more deliberate cycling because they operate at higher temperatures and need a more aggressive heat introduction to lay the transfer film properly. The goal is to slowly bring the pads up to near race temps, so the general approach is a series of progressively harder stops from increasing speeds. After reaching medium race speed, engage the brake pedal to slow the car without coming to a complete stop, release the pedal quickly and do not drag or hold the brakes; repeat 4 or 5 times. Repeat this process at higher speeds 5 or 6 times, remembering to never drag the brakes. Repeat this process at or or near race speeds an additional 3 times, again releasing the brake pedal quickly and never dragging or holding the brakes. Allow the brakes to rest until rotors are completely cool to the touch. If at any point during those steps the brake pedal becomes soft or brake fade is noticed, park the car until rotors are cool to the touch.
Applying the brakes a few times before the initial the first race after installation should help bring the pads up to temperature, but use common sense before leaning on them fully. A properly bedded-in race pad and a properly bedded-in rotor working together is the foundation of everything that happens in a braking zone after that.
Like their street pad counterparts, some race pads are designed for maximum performance at lower optimal operating temperatures. Hawk's HPX and HP+, for example would fall into this category. The same general bed-in instructions and rules apply, but it is not necessary to get these pads up to true track racing speed temps during the process.
A Note on Used Rotors
New pads on used rotors need attention before bedding-in is attempted. Check rotor thickness to confirm they are within spec and not below discard depth, as well as rotor surfaces for deep grooves or scoring, and resurface or replace them, as needed. If rotors do not need resurfacing, then contamination from the previous brake pads must still be removed. Sanding them with 130-grit sandpaper using moderate pressure, and using soap and water to clean the surface after sanding should leave the rotors free and clear of fine debris, oil, grease, and brake fluid. A used rotor with the previous compound's transfer film baked on will interfere with the new pad's bed-in process and produce inconsistent performance from the start. Although it’s not necessary to install new rotors every time you change your pads, never attempt to use badly worn or damaged rotors with new brake pads, and always replace rotors that are worn, heat-cracked, or at or below minimum thickness.
Last but not least, always inspect calipers for freedom of movement, and lubricate when necessary.
Check out more detailed pad and rotor installation instructions for all of Hawk Performance’s products at HAWK Performance How To.
Pairing new Hawk pads with Talon rotors — engineered, machined, and validated together in ISO-certified North American facilities — gives you the cleanest possible bed-in baseline. Check out https://www.hawkperformance.co... to learn more.
